PSO2NGS のレベリングをしているかと思いきや、ちょいと忙殺されてまして、全然レベルが上がってません (;´Д`)
さて、Arduino のマルチタスクとクラスについての勉強も、Part 1 の最終回です。
参考にさせていただいた下記サイトには、さらに Part 2 、Part 3 として割り込み処理などの解説もありますので、興味のある方はご覧いただければと思います。

前回は、C++ クラスを使ってインスタンス化した複数の LED とサーボモータを、それぞれ独立して制御することができました。
入力も欲しいです
今回はこれにタクトスイッチをプラスして、スイッチの状態を監視できるようにしてみましょう。
With our millis()-based timing, the processor is free to check on button states and other inputs regularly. This allows us to build complex programs that do many things at once, but still remain responsive.
https://learn.adafruit.com/multi-tasking-the-arduino-part-1/all-together-now
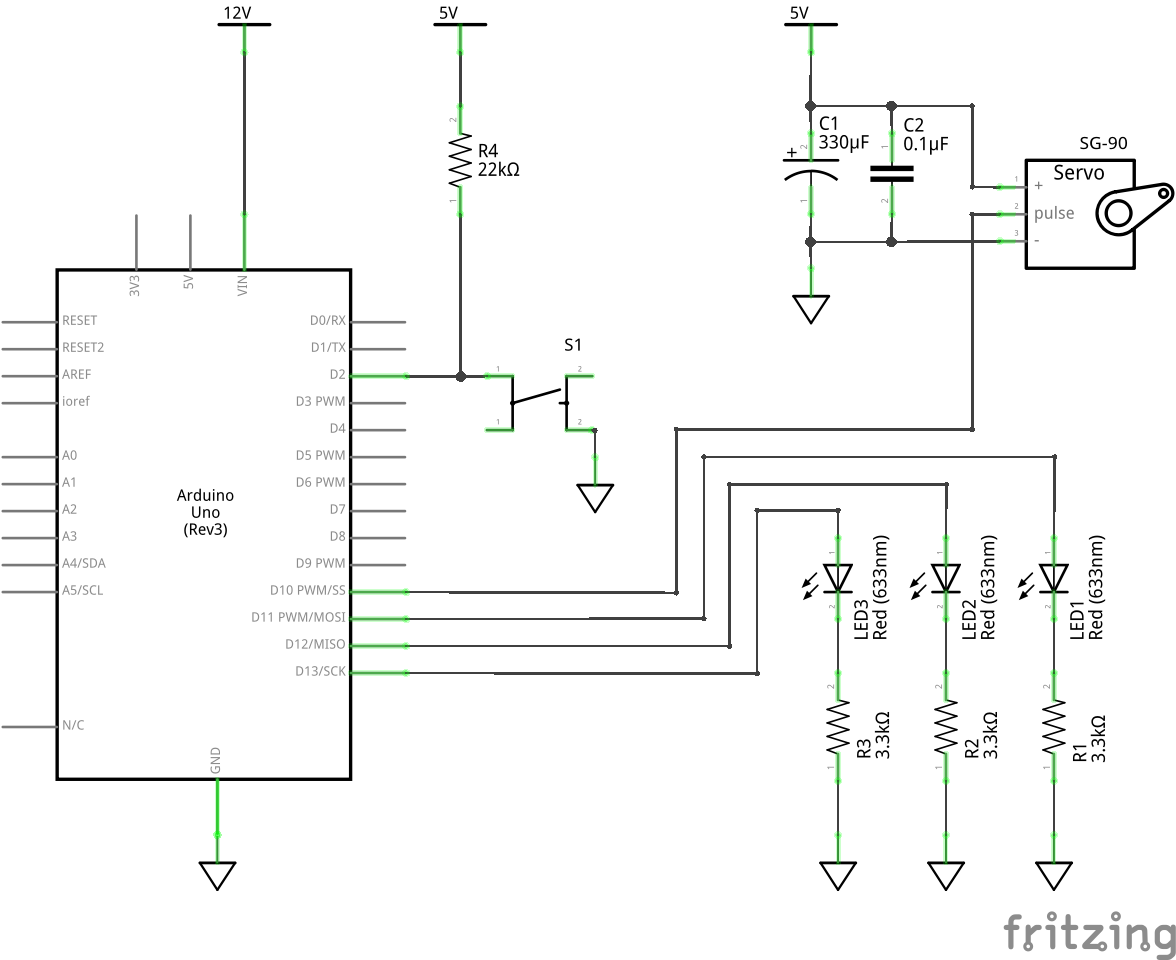
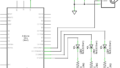
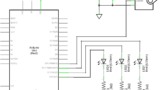
回路図です。
D2 ピンにタクトスイッチをつなぎ、22KΩ の抵抗でプルアップしています。もちろん、内部プルアップでもかまいません。
スケッチです。
- #include <Servo.h>
- class Flasher {
- byte ledPin;
- unsigned long OnTime;
- unsigned long OffTime;
- bool ledState;
- unsigned long previousMillis;
- public:
- Flasher(byte pin, unsigned long on, unsigned long off) {
- ledPin = pin;
- pinMode(ledPin, OUTPUT);
- OnTime = on;
- OffTime = off;
- ledState = LOW;
- previousMillis = 0;
- }
- void Update() {
- unsigned long currentMillis = millis();
- if ((HIGH == ledState) && (OnTime < currentMillis - previousMillis)) {
- ledState = LOW;
- previousMillis = currentMillis;
- digitalWrite(ledPin, ledState);
- }
- else if ((LOW == ledState) && (OffTime < currentMillis - previousMillis)) {
- ledState = HIGH;
- previousMillis = currentMillis;
- digitalWrite(ledPin, ledState);
- }
- }
- };
- class Sweeper {
- Servo myservo;
- byte updateInterval;
- unsigned long lastUpdate;
- byte pos;
- byte increment;
- public:
- Sweeper(byte interval) {
- updateInterval = interval;
- lastUpdate = 0;
- pos = 0;
- increment = 1;
- }
- void Attach(byte pin) {
- myservo.attach(pin);
- }
- void Update() {
- if (updateInterval < millis() - lastUpdate) {
- lastUpdate = millis();
- pos += increment;
- myservo.write(pos);
- if (180 <= pos || 0 >= pos) increment = -increment;
- }
- }
- };
- Flasher led1(11, 123, 400);
- Flasher led2(12, 350, 350);
- Flasher led3(13, 200, 222);
- Sweeper sweeper1(15);
- void setup() {
- sweeper1.Attach(10);
- }
- void loop() {
- if(HIGH == digitalRead(2)) {
- led1.Update();
- sweeper1.Update();
- }
- led2.Update();
- led3.Update();
- }
変更したのは 79~82 行です。
タクトスイッチが押されている間 D2 は LOW になりますので、led1 と sweeper1 の状態は更新されず、停止状態となります。離すと再び動き始めます。
loop() は常に動いていますから、ボタンの状態も早いタイミングで検知されます。
まとめ
これまでの一連の「Arduino のマルチタスク」で、Arduino がボタン入力などの外部イベントに応答しながら、複数の独立したタスクをすばやく操作できることがわかりました。
このテクニックにより、小さなプロセッサを最大限に活用することができます。
In this guide we have demonstrated that it is indeed possible for the Arduino to juggle multiple independent tasks while remaining responsive to external events like user input.
https://learn.adafruit.com/multi-tasking-the-arduino-part-1/conclusion
These techniques won’t turn your Arduino into a supercomputer. But they will help you to get the most out of this small, but surprisingly powerful little processor.